
DIY: Cat® 315 Excavator Bucket Cylinder Repair
Estimated read time: 5 minutes
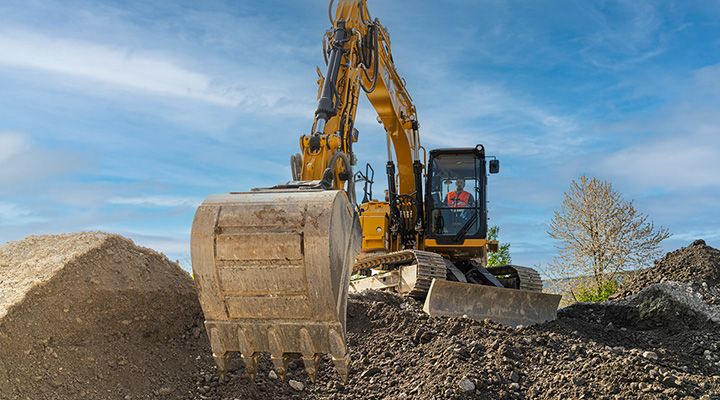
This guide shows how to do an excavator bucket cylinder repair on a Cat® 315 Excavator using Cat Self-Service Options (SSO). SSO guides give you clear instructions plus recommended parts and tool lists to do the maintenance or repairs yourself.
Remember to take your time and follow every safety instruction.
Watch this video to see how to replace the bucket cylinder on your Cat excavator:
To get started, move the boom and stick out and position the bucket so it is parallel to the ground. Lower the boom until the bucket is flat on the ground. Shut off the engine and then turn the key switch to on without starting the engine. Unlock the hydraulic activation level and move the joysticks or pedals to the full stroke positions to release the pressure.
Turn off the disconnect switch at the back of the machine and remove the key.
You’ll need:
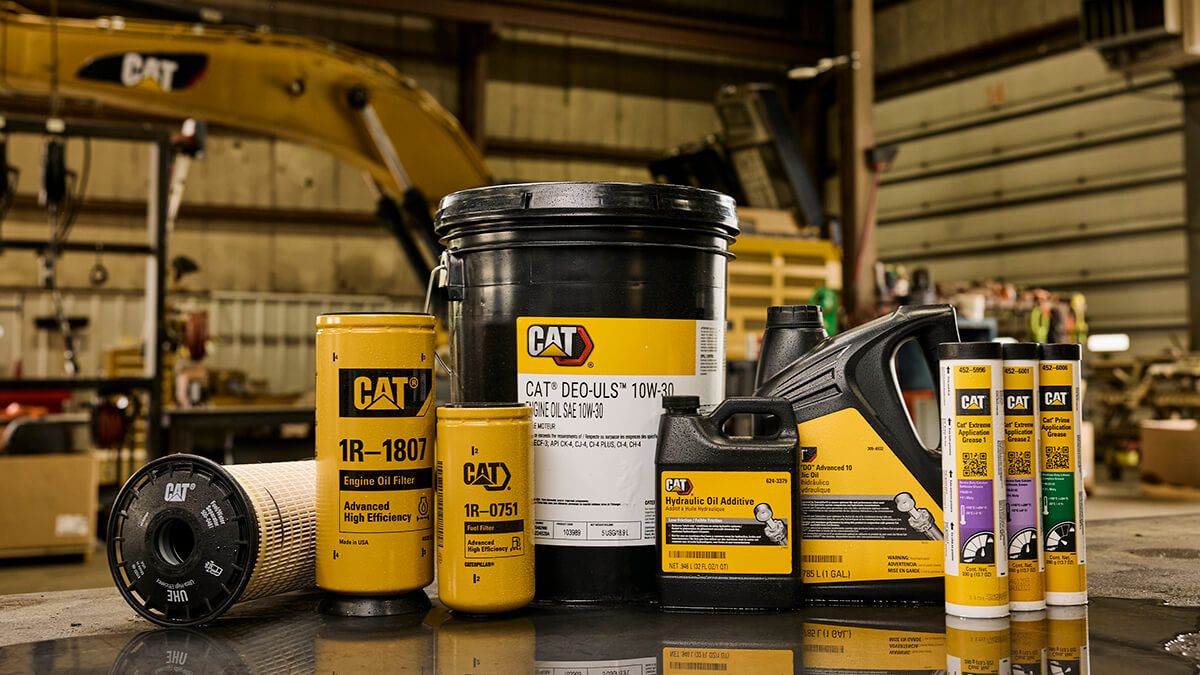
5 gallon (100L) pail of Cat HYDO-10 hydraulic oil
Tube of Cat moly-grease
Cat punch (not a hammer)
Suitable strap for lifting cylinder
Torque wrench
Oil pan
Lifting device
Absorbent material
Drain pan or vacuum pump
Caps and plugs for contamination control
Contamination control is key here. You don’t want to contaminate this system with any dirt while the system is open.
Step 1: Remove hydraulic lines off the cylinder
Grab your drain pan and absorbent material to catch any spills.
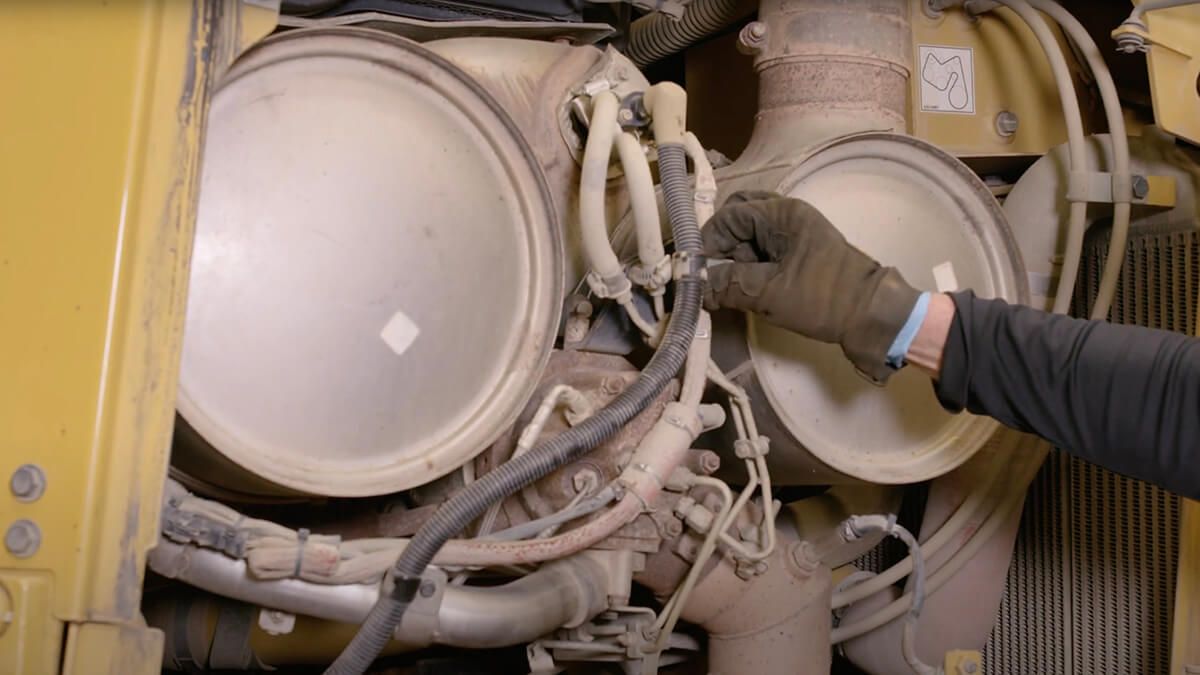
Even after zeroing the energy and for your safety, double-check for pressure. Loosen the clamps a little. If there’s any pressure, you’ll hear hissing. Let it stop before proceeding. When there’s no more hissing, there should be no more pressure.
Keep everything clean. If there’s dirt or debris around the hose ends, clean it off.

Step 2: Remove the bottom pin
Find the jam nut and loosen that. Air tools will help, but if you’re on a jobsite without a compressor, you can still get it done.
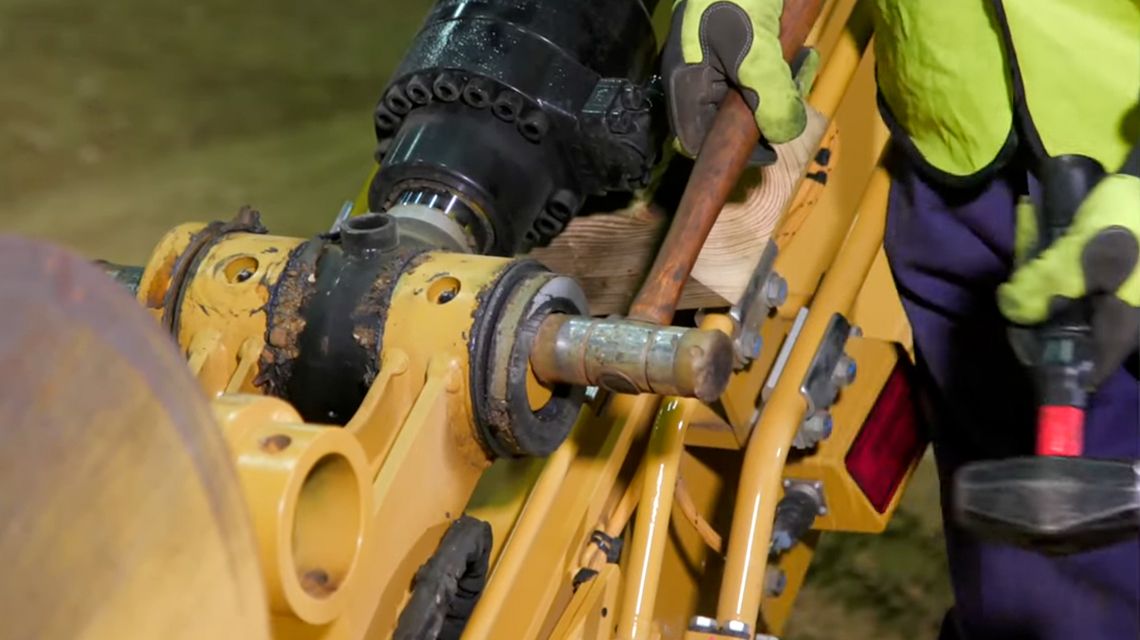
Remove the bolt. When you drive the pin out, the cylinder will drop a little. Put a board in to hold it and prevent it from dropping all the way when you pull the pin or attach a strap and lifting device to the cylinder.
Once the hoses are removed, drive out the pin with a proper tool.
Step 3: Remove the cylinder
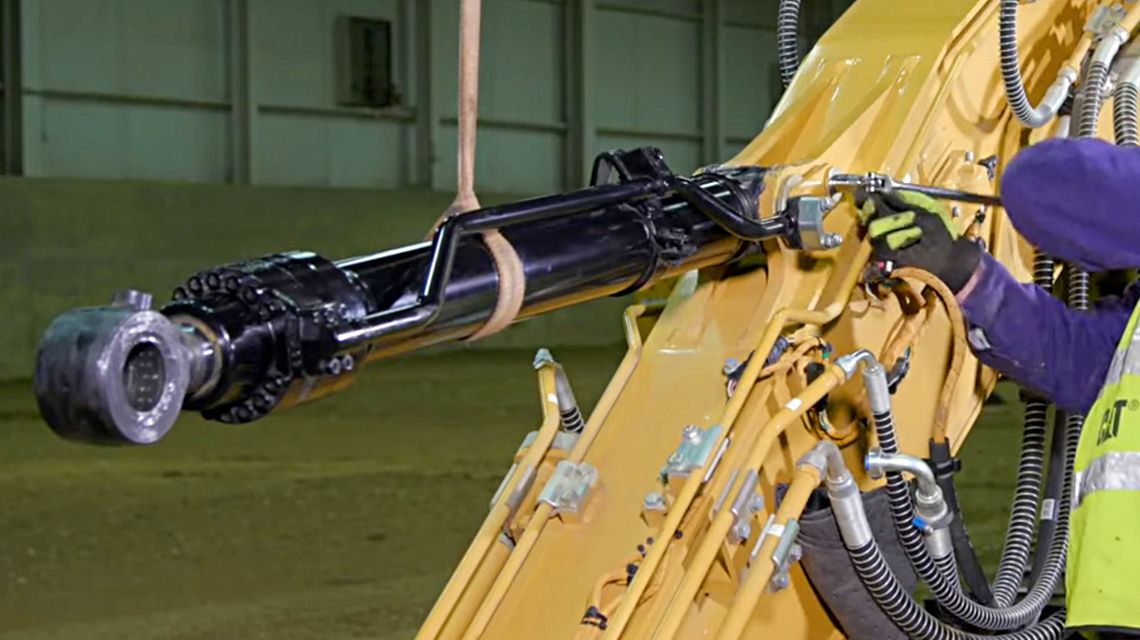
Once the lower pin is out, the cylinder is loose. The cylinder is heavy — on this Cat 315 Excavator, it’s close to 250 pounds. Don’t try to do this by yourself. Use a strap and a suitable lifting device. Check the strap’s weight rating and inspect it for cuts or frays. Get a new one if you find any damage.
Put the strap near the middle of the cylinder — there’s a little more weight on the head end, so set it slightly toward that end.
Lift the cylinder using the lifting device. Then, remove the flag pin and bolt on top to release it from the machine. Drive the top pin out from the other side and remove the cylinder.
This is a good time to visually inspect your pins for damage to see if they need to be replaced.
Step 4: Install the new cylinder
Grab your new, rebuilt or Cat Reman cylinder. Never put your finger in the bores to align — it is dangerous and an easy way to get hurt. Grease the pin lightly to help it slide.
Important: Orient the grease fittings up. If you put the cylinder in 180 degrees out, it’ll be hard to grease either end and you’ll end up flipping it back around later. Transfer any tubing and brackets from the old cylinder to the new one. The brackets stabilize the tube and help prevent fractures.
Install the top bolt and flag pin. Consult torque values and torque to spec on the Operation and Maintenance Manual (OMM), so they don’t come loose.
Step 5: Replace the bottom pin
Lower the cylinder, line up the bore and slide the pin in. When using a strap, set the cylinder just a little below center to help you adjust it into alignment.
Let the pin protrude slightly, then install the shim and spacer as required and drive the pin the rest of the way. Line up the hole in the pin, slide the bolt through and install the two nuts. The nuts are designed to lock into each other.
Step 6: Hook the hydraulics back
With the cylinder installed and bolts torqued, reconnect the hydraulics. To keep everything clean, remove caps and plugs only when ready. Inspect and replace the seals and o-rings as needed.
Install the split flange halves and tighten. Repeat for the second hose. Tighten and torque bolts as required.
Final Checks
The hoses are hooked up, so you’re nearly done.
Grease the new cylinder thoroughly to avoid early-hour failures.
Greasing tip: If you ever see a flag pin with paint worn off from slapping, it’s a sign the machine isn’t getting grease at the pins. Lack of grease wears pins and bearings. A little grease goes a long way.
There’s likely air in the system. Start the machine and slowly “exercise” the replaced cylinder back and forth to purge air. If it’s jerky, keep cycling slowly until it smooths out.
Top off the hydraulic tank. You lost some fluid when you pulled the lines and you need to refill the new cylinder.
That’s it! Your new bucket cylinder is installed, and your Cat 315 Excavator is ready to get back to work.
Make sure you have everything you need to do the job right. Visit Parts.Cat.com, sign in and enter your serial number. You’ll be able to purchase parts specific to your excavator and explore more DIY SSO repairs.
Get More Instructions
- Enter you machine's serial number here.
- Look at Self-Service Options.
- Add to cart, and check out.
Your Business
 North America – English

Caterpillar Brands
- Caterpillar.com
- Contact Us
- My Marketing Preferences
- Site Map
- Cookie Settings
- Legal
- Privacy
- Do Not Sell or Share My Personal Information
- Accessibility Statement
- US-English
- © 2026 Caterpillar. All Rights Reserved.